Crochet Advent Calendar Ideas: 8 Reusable Designs to Make Before December
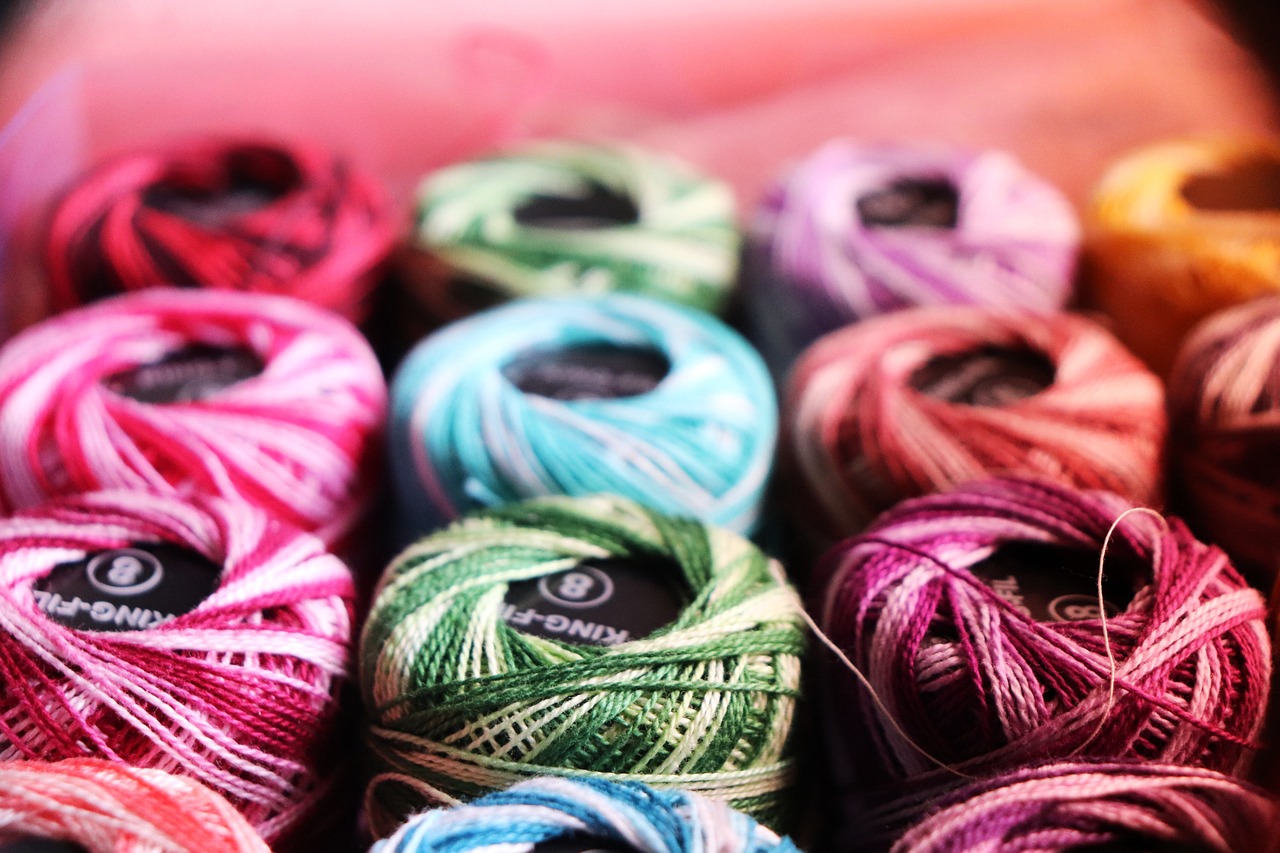
A crochet advent calendar is one of the most rewarding Christmas projects you can make: you crochet it once and bring it out every year, often for decades. Unlike cardboard calendars, a handmade one can be refilled with sweets, notes or tiny gifts, and it becomes part of the family's December routine. Below are eight crochet advent calendar ideas for beginners and more experienced makers, plus a realistic timeline, yarn advice and ideas for what to put inside.
How a crochet advent calendar works
Most advent calendars count down the 24 days from 1 to 24 December, so you need 24 small containers (some families add a 25th for Christmas Day). Each container is numbered, and you fill them before 1 December. The container can be a pocket, a stocking, a little bag or a hook for an ornament.
The key thing to understand is that you are not making one big project, you are making 24 small, identical pieces and then assembling them. That makes it a great project to carry around, but it also means repetition, so pick a design you enjoy making.
8 crochet advent calendar ideas
1. Mini stocking garland (Beginner–Intermediate)
Twenty-four mini stockings, roughly 10–13 cm (4–5 in) tall, hung with clothes pegs or small loops on a length of cord. This is the classic look. Stockings are worked flat and seamed, or in the round with a simple heel. Alternate red, white and green, or use one colour with a contrasting cuff.
2. Granny square pocket wall hanging (Beginner)
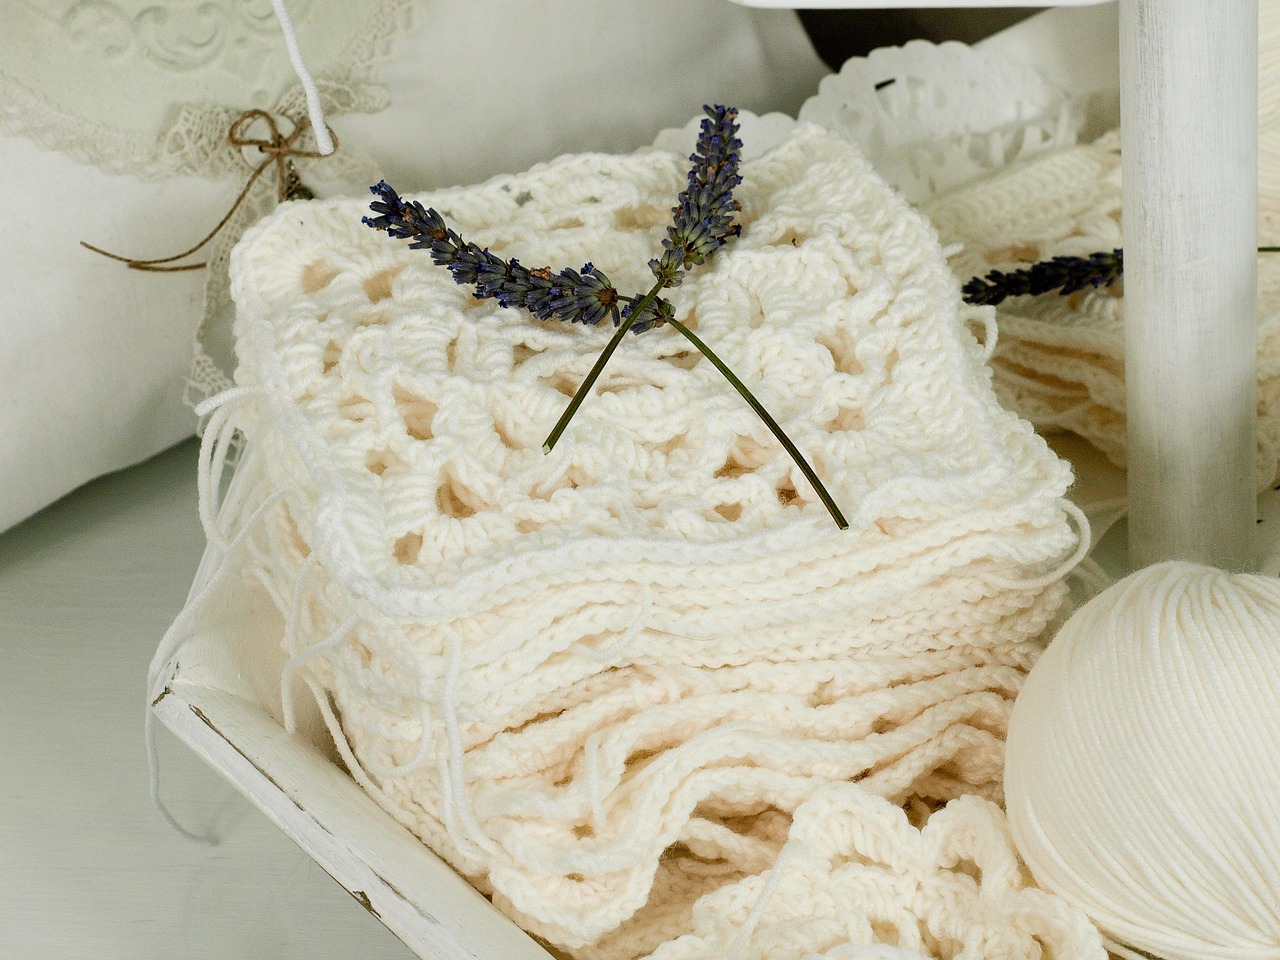
Make 48 small granny squares, about 9–10 cm (3½–4 in) each, and join them in pairs on three sides so each pair forms a pocket. Sew or crochet the 24 pockets onto a backing, or join them into a grid of 4 × 6 and add a hanging rod at the top. If you can make a classic granny square, you can make this calendar.
3. Little drawstring bags (Beginner)
Small bags worked in the round in single crochet (UK double crochet), with a chain-stitch cord threaded through the top. They hold more than a stocking and are easy to refill. Start each bag with a magic ring for a closed base, then work straight up without increasing.
4. Pocket panel on a single fabric (Intermediate)
Crochet one large rectangle, for example 50 × 70 cm (20 × 28 in), in a firm stitch such as single crochet or half double crochet (UK half treble), then sew 24 small square pockets onto the front. This version looks tidy on a wall or door and is sturdier than a garland.
5. Ornament advent tree (Intermediate)
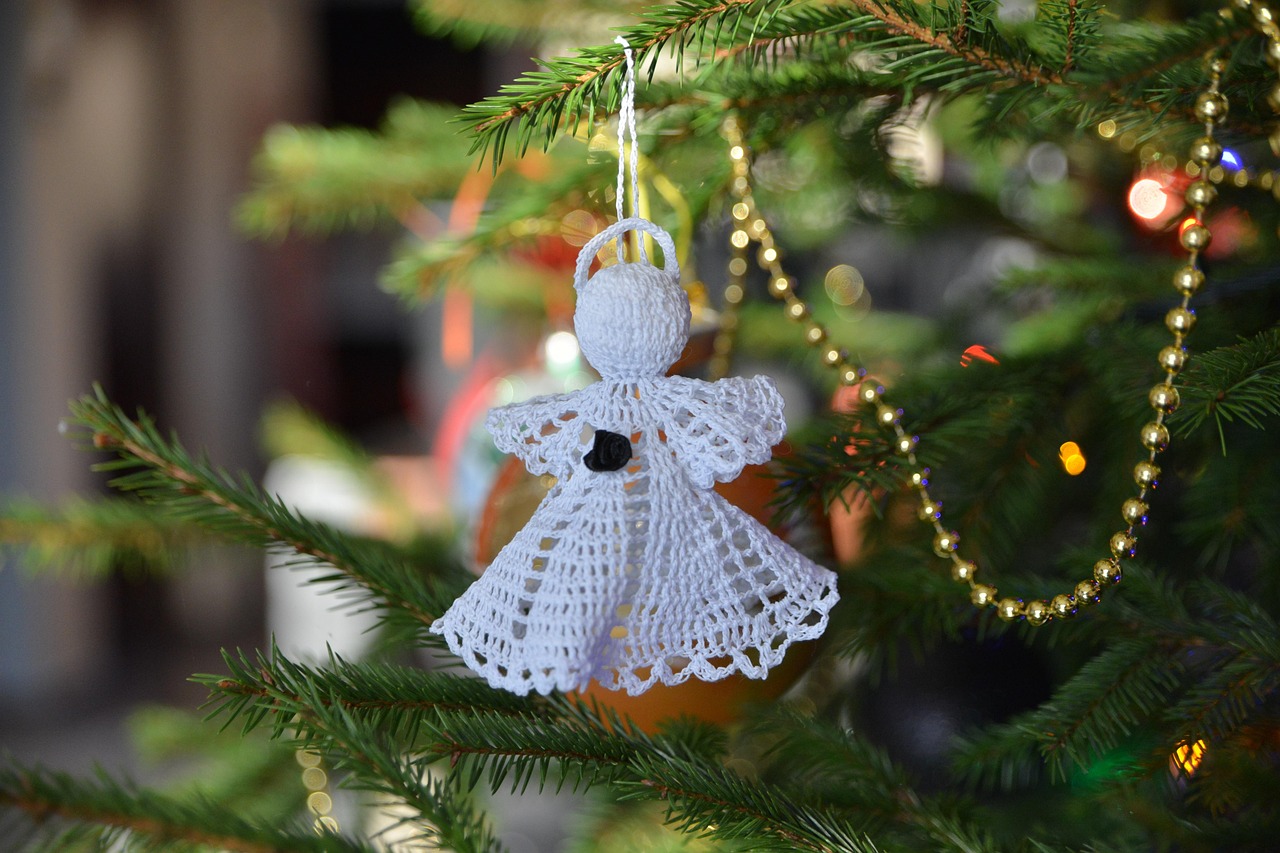
Crochet a flat triangular tree panel and sew 24 small buttons or loops onto it. Every day, one small crochet ornament (a star, a snowflake, a bauble) goes onto the tree. By Christmas Eve the tree is fully decorated. You can find ornament ideas in our Christmas crochet decorations guide.
6. Matchbox or box covers (Beginner)
Buy 24 small cardboard boxes or matchboxes and crochet a simple sleeve for each one: a strip of single crochet folded around and seamed. Stack them into a tower or line them up on a shelf. Quick, neat and very satisfying.
7. Amigurumi characters (Advanced)
Twenty-four tiny amigurumi, such as gnomes, snowmen or reindeer, each sitting on a numbered tag. Children love unwrapping one character a day. This is the most time-consuming option, so start early or choose very small, simple shapes.
8. "Crochet-a-day" advent for the maker
This idea is for you rather than the family: instead of filling a calendar, crochet one small decoration every day of December. Many online communities run a crochet-along (CAL) in December with a new small project each day. By Christmas you have 24 decorations ready for next year's tree.
Which design should you choose?
| Design | Skill level | Time per piece | Total time (approx.) |
|---|---|---|---|
| Box covers | Beginner | 15–20 min | 6–8 hours |
| Granny square pockets | Beginner | 25–35 min per pocket | 10–14 hours |
| Drawstring bags | Beginner | 30–40 min | 12–16 hours |
| Mini stockings | Beginner–Intermediate | 40–60 min | 16–24 hours |
| Pocket panel | Intermediate | 20 min per pocket + panel | 15–20 hours |
| Ornament tree | Intermediate | 20–40 min per ornament | 12–20 hours |
| Amigurumi | Advanced | 1–2 hours | 24–48 hours |
Times are rough estimates for an average-speed crocheter using worsted (UK aran) yarn. Your own times will vary, so time your first piece and multiply by 24.
Planning your timeline
If you start in mid-November, you have about two weeks. Divide your project into small daily goals:
- Week 1: make 12–14 pieces (about two a day).
- Week 2: make the rest, then add numbers and assemble.
- Last two days: fill the containers and hang the calendar.
If time is short, choose box covers or granny square pockets. You can also make half the calendar this year, use paper bags for the rest, and finish it next year.
Yarn, hooks and materials
Best yarn for an advent calendar
Choose a smooth yarn that shows stitches clearly and holds its shape.
- Cotton or cotton blend: crisp, firm and does not stretch much when the pockets are filled. Ideal for pockets and bags.
- Acrylic: affordable, bright colours, easy care. Good for stockings and garlands.
- Wool: warm and traditional, but the stitches can relax over time when pockets are heavy.
Hook sizes
| Yarn weight (US / UK) | Typical hook |
|---|---|
| DK / DK (light worsted) | 4 mm (US G-6) |
| Worsted / Aran | 5 mm (US H-8) |
For containers that will hold small objects, go down half a size from the yarn label so the fabric is denser and nothing slips through.
Other supplies
A tapestry needle, stitch markers, cord or twine for hanging, small pegs or rings, and something to number the containers with.
How to number the 24 pieces
- Embroidery: stitch the numbers with yarn in backstitch or chain stitch. Write them lightly in chalk first.
- Surface crochet: slip stitch the numbers directly onto the fabric for a raised look.
- Tags: wooden discs, card tags or felt circles tied on with ribbon. The easiest option, and you can change them each year.
- Buttons or beads: for a minimalist look, use a different number of small buttons, or just numbered wooden beads.
What to put inside a crochet advent calendar
Small items work best, especially for pockets about 8–10 cm (3–4 in) wide:
- Wrapped chocolates or sweets
- Little notes with a daily activity ("watch a Christmas film", "make hot chocolate")
- Tiny toys, stickers or hair clips for children
- Stitch markers, mini skeins or a crochet tip of the day for a crafty friend
- Tea bags, lip balm or small beauty samples for adults
Avoid anything heavy, sticky or melting near radiators.
Frequently asked questions
How many pockets does an advent calendar need? Usually 24, one for each day from 1 to 24 December. Some families add a 25th for Christmas Day.
What is the easiest crochet advent calendar for beginners? Granny square pockets or box covers. Both use only basic stitches and repeat one simple shape.
How long does it take to crochet an advent calendar? Between about 6 and 48 hours depending on the design. Small box covers are fastest; amigurumi take the longest.
Can I make it as a gift? Yes, but give it before 1 December so it can be filled in time. A filled calendar makes a very personal present. For quicker ideas, see our last-minute crochet gifts.
How do I store it after Christmas? Empty all pockets, wash or air it if needed, and store it flat or loosely rolled in a cotton bag, away from moths and damp.
Key takeaways
- A crochet advent calendar is 24 small, identical pieces plus assembly, so choose a design you enjoy repeating.
- Granny square pockets and box covers are the quickest options for beginners.
- Use cotton or acrylic and a slightly smaller hook for firm containers.
- Time your first piece, multiply by 24 and plan daily goals.
- Number with tags or embroidery, fill before 1 December and reuse it every year.