How to Crochet a Granny Square: Classic Step-by-Step Tutorial for Beginners
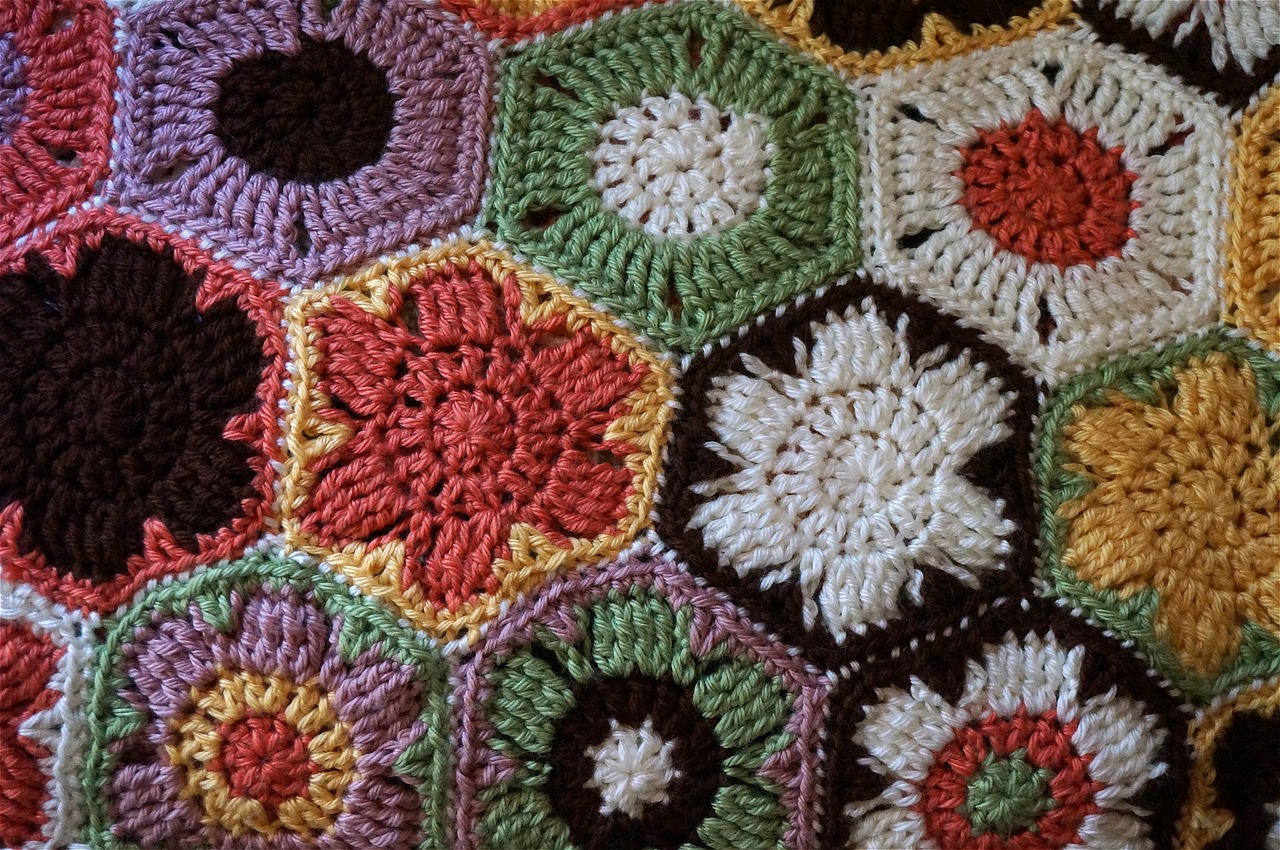
The granny square is the most famous motif in crochet, and it's back in fashion: you'll see granny squares on cardigans, tote bags, cushions and blankets everywhere. It's also one of the best beginner projects, because it repeats the same few movements and each square is small enough to finish in one sitting. This tutorial explains the classic granny square, the traditional version crocheters have made for generations.
What you need
- Worsted / aran weight yarn (cotton or acrylic), in one or several colours
- A 5 mm (US H-8) hook, or the size recommended on your yarn label
- A tapestry needle and scissors
Stitches used
| US term | UK term | Abbreviation (US) |
|---|---|---|
| Chain | Chain | ch |
| Slip stitch | Slip stitch | sl st |
| Double crochet | Treble crochet | dc |
This tutorial uses US terms. If you are used to UK patterns, every "dc" below is a treble (tr). See our US vs UK terms guide if this is confusing.
How the classic granny square is built
Each round is made of clusters of three double crochet stitches. Corners are made by working two clusters into the same space with a chain between them (the corner space). Along the sides, clusters are separated by a single chain. Once you understand this logic, you can make a granny square as large as you like without reading the pattern.
Step-by-step tutorial
Start: the centre ring
Chain 4 and join with a slip stitch to the first chain to form a ring. (You can also use a magic ring for a tighter centre.)
Round 1
- Chain 3. This counts as your first double crochet.
- Work 2 double crochet into the ring. That is your first cluster.
- Chain 2. This is your first corner.
- Work 3 double crochet into the ring, then chain 2. Repeat this two more times.
- Join with a slip stitch to the top of the beginning chain-3.
You now have 4 clusters and 4 corner spaces (chain-2 spaces).
Round 2
- Slip stitch across the next 2 double crochet and into the first chain-2 corner space, so you are positioned in a corner.
- In this corner space: chain 3 (counts as a double crochet), 2 double crochet, chain 2, 3 double crochet.
- Chain 1.
- In the next corner space: 3 double crochet, chain 2, 3 double crochet. Chain 1.
- Repeat step 4 for the two remaining corners.
- Join with a slip stitch to the top of the beginning chain-3.
Each side now has 2 clusters, separated at the corners.
Round 3
- Slip stitch across to the first corner space.
- Corner: chain 3, 2 double crochet, chain 2, 3 double crochet. Chain 1.
- Side: work 3 double crochet into the chain-1 space, then chain 1.
- Corner: in the next corner space, work 3 double crochet, chain 2, 3 double crochet. Chain 1.
- Repeat the side and corner steps around. Join with a slip stitch.
Round 4 and beyond
Repeat the same rule every round: - Corner spaces (chain 2) get: 3 dc, ch 2, 3 dc. - Side spaces (chain 1) get: 3 dc, then ch 1.
Each new round adds one more cluster per side. Stop when your square reaches the size you want, then fasten off.
How to change colours
Changing colours is what makes granny squares so cheerful.
- Finish the round with the slip stitch join and fasten off.
- Join the new colour with a slip stitch in any corner space.
- Start the round with chain 3 as usual.
For fewer ends to weave in, work over the old tails as you crochet the next round.
Tips for perfect granny squares
- Twisting squares? It's normal for granny squares to twist slightly. Changing direction (turning your work) at the start of every round reduces it, and blocking fixes the rest.
- Wavy or cupping square? Wavy edges mean too many chains or a tension that's too loose. Cupping means your stitches are too tight or you're missing chains. Check the chain-2 and chain-1 counts.
- Neat corners: make sure you always place exactly two clusters in each corner, with chain 2 between them.
- Blocking: pin squares to the same size and lightly mist them with water. They'll join much more easily.
Granny square size guide
The final size depends on your yarn, hook and tension, but here is a rough guide with worsted / aran yarn and a 5 mm hook:
| Rounds | Approx. size |
|---|---|
| 3 | 9 cm (3.5 in) |
| 5 | 14 cm (5.5 in) |
| 8 | 22 cm (8.5 in) |
| 10 | 27 cm (10.5 in) |
Make one square first and measure it before planning a larger project.
What can you make with granny squares?
- Blankets: the classic. Use our crochet blanket sizes chart to work out how many squares you need.
- Tote bags: a very popular trend, usually made from 6 to 10 squares.
- Cushion covers: two large squares joined around the edges.
- Coasters and pot holders: small squares in cotton.
- Cardigans and vests: for more experienced crocheters.
Frequently asked questions
Is a granny square good for beginners? Yes. It uses only chains, slip stitches and double crochet, and its repetitive structure makes it easy to memorise.
Why is my granny square not square? Usually because of missing chains at the corners or uneven tension. Count your chain-2 corners and chain-1 sides in every round, and block the finished square.
How many granny squares do I need for a blanket? Divide the blanket width by the width of one square, then do the same for the length, and multiply. For example, a 100 × 125 cm throw with 12.5 cm squares needs 8 × 10 = 80 squares.
Key takeaways
- The classic granny square uses clusters of 3 double crochet (UK: treble).
- Corners: 3 dc, ch 2, 3 dc in the same space. Sides: 3 dc, ch 1.
- Each round adds one cluster per side, so you can make any size.
- Block your squares before joining them for a neat finish.