Magic Ring Crochet: How to Make a Magic Circle (Easy Step-by-Step)
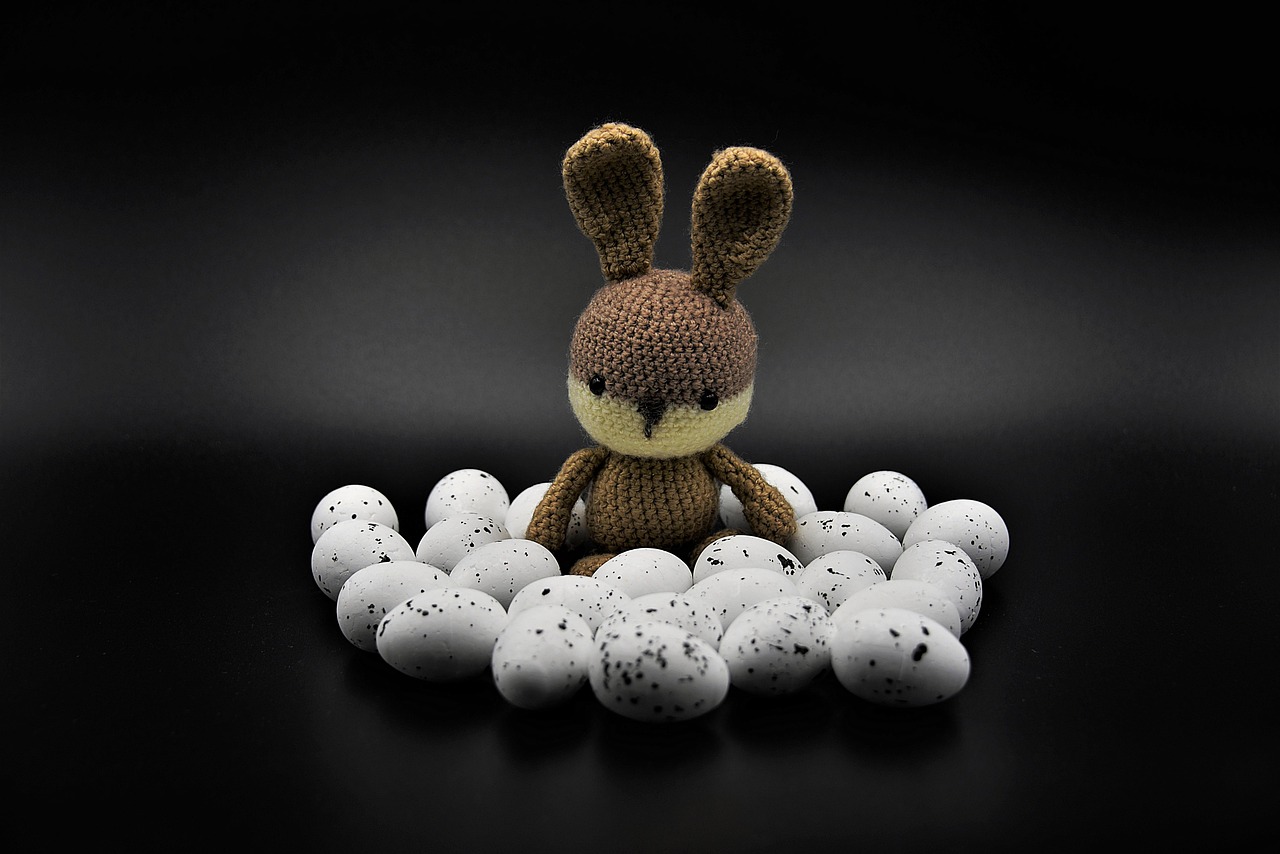
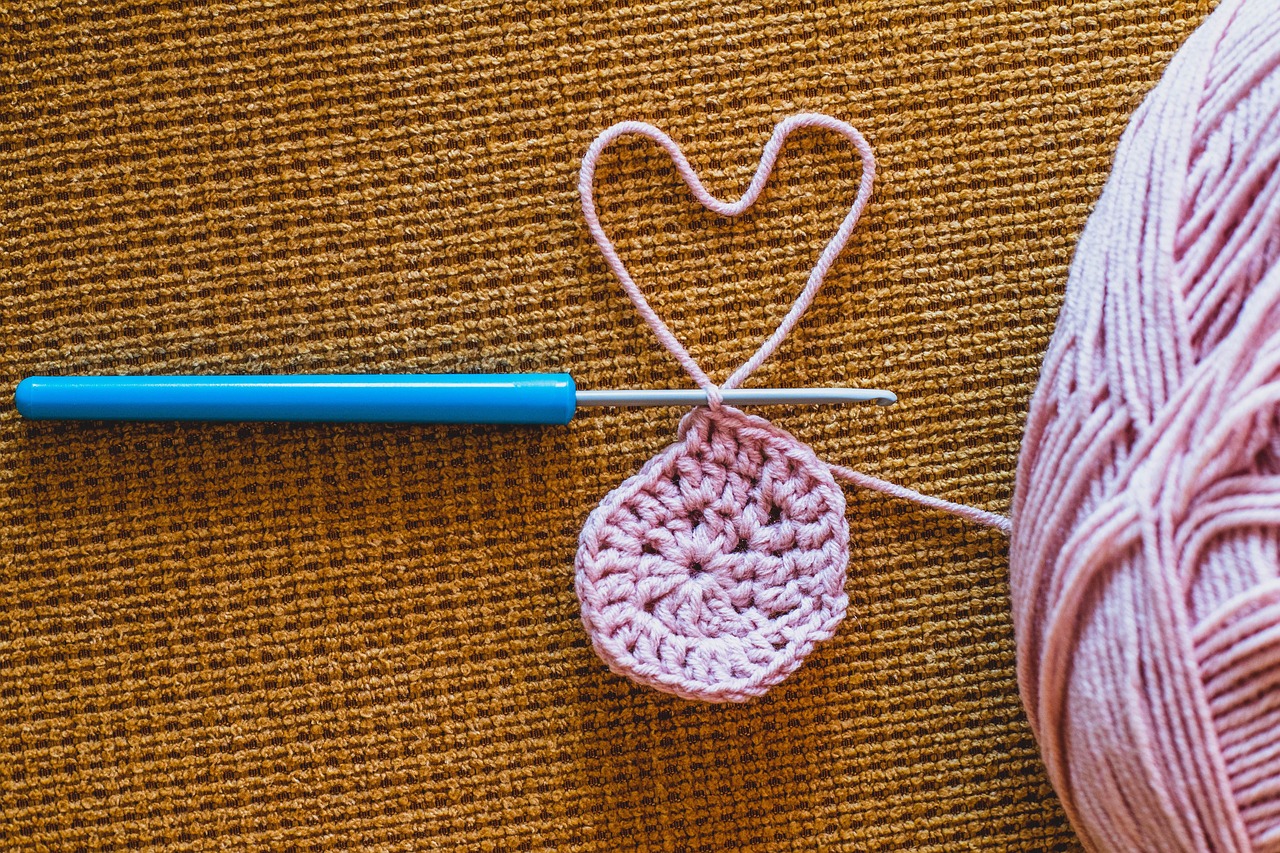
The magic ring, also called the magic circle, magic loop or adjustable ring, is the way most crocheters start projects worked in the round. Amigurumi, granny squares, hats, flowers and mandalas often begin with it. Its big advantage is that you can pull the centre completely closed, so there is no hole in the middle. Many beginners find it fiddly at first, so this guide breaks it into small, clear steps.
Magic ring vs chain ring: what's the difference?
There are two common ways to start crocheting in the round:
| Method | How it works | Result | Best for |
|---|---|---|---|
| Chain ring | Chain a few stitches and join them into a ring with a slip stitch | A small hole stays in the centre | Granny squares, motifs where a hole doesn't matter |
| Magic ring | Work stitches into a loop of yarn, then pull the tail to close it | No hole, a tight centre | Amigurumi, hats, anything that must be closed |
If a pattern says "MR", "magic ring" or "adjustable ring", it means the second method.
How to make a magic ring, step by step
These steps are written for right-handed crocheters. If you crochet left-handed, simply mirror them.
Step 1: Make a loop
Leave a tail of about 15 cm (6 in). Wrap the yarn around two fingers of your non-hook hand so the working yarn (the end attached to the ball) crosses over the tail, forming an X on the back or the front of your fingers.
Step 2: Insert your hook
Slide your hook under the first strand of the loop (the one closest to your fingertips), from front to back.
Step 3: Pull up a loop
Catch the working yarn with your hook and pull it back under the strand, so you have one loop on your hook.
Step 4: Secure with a chain
Yarn over and pull through the loop on your hook. This chain locks the ring and does not count as a stitch. Now carefully slide the ring off your fingers and hold it where the strands cross.
Step 5: Work stitches into the ring
Insert your hook into the centre of the ring so that you are working over both the ring and the tail. Work the number of stitches your pattern asks for. For amigurumi, this is usually 6 single crochet (UK: 6 double crochet). For granny squares, it is usually a group of double crochet (UK: treble crochet).
Step 6: Pull the tail to close
Hold your stitches gently and pull the tail. The ring tightens and the stitches bunch together into a neat circle with no hole. If it doesn't close easily, see the troubleshooting section below.
Step 7: Join or continue in a spiral
- Joined rounds: slip stitch into the first stitch to close the round. Common for granny squares and hats.
- Spiral rounds: don't join; simply keep working into the next stitch. Common for amigurumi. Place a stitch marker in the first stitch of each round so you don't lose count.
How to secure the magic ring so it never opens
A magic ring is held only by friction, so a poorly secured tail can work loose with time, especially on toys that get squeezed.
- When you finish the project, thread the tail on a tapestry needle.
- Weave it through the stitches around the centre in one direction.
- Then weave back in the opposite direction. Changing direction locks the tail in place.
- For amigurumi, weave it through a few more stitches inside the toy before trimming.
Troubleshooting: common magic ring problems
The ring won't close when I pull the tail. You probably pulled the wrong strand, or you worked a stitch over the tail only and not over the ring. Undo your stitches and make sure every stitch goes around both strands.
The tail slipped out completely. You pulled too hard before working enough stitches. Start again and keep your stitches loose until all of them are in place.
My first round looks uneven. This is normal: the first round is always a little crowded. It evens out after round 2.
I keep losing the ring off my fingers. Make the chain in step 4 before taking the loop off your fingers, and hold the crossing point firmly with your thumb and middle finger.
An easy alternative if you are struggling
If the magic ring frustrates you, you can use this simple workaround for amigurumi: chain 2, then work your 6 single crochet into the second chain from the hook. You can then pull the tail slightly to tighten the centre. It is not quite as neat, but it works well while you practise.
Frequently asked questions
Is a magic circle the same as a magic ring? Yes. Magic circle, magic ring, magic loop and adjustable ring are all names for the same technique.
How many stitches go in a magic ring? It depends on the pattern. Amigurumi commonly start with 6 single crochet. Flat circles often start with 6 to 8 single crochet or 12 double crochet. Always follow your pattern.
Can I use a magic ring for a granny square? Yes. Many crocheters prefer it for granny squares because the centre closes neatly. Read our guide on how to crochet a granny square to try it.
Key takeaways
- A magic ring starts work in the round with no hole in the centre.
- Every stitch must go over both the ring and the tail, or it won't close.
- The securing chain does not count as a stitch.
- Weave the tail in two directions so the ring never comes undone.
New to stitch names? Our list of basic crochet stitches and the US vs UK terms guide will help.