How to Hold a Crochet Hook and Yarn: A Calm Beginner's Guide
If your first crochet attempts feel clumsy, the problem is almost never you. It is usually your grip. How you hold the hook and how you feed the yarn decide whether your stitches come out even or tight and wobbly. The good news: there is no single "correct" way, only a few comfortable starting points. This guide walks you through them.
What you need before you start
- A medium hook. A 5 mm (US H-8) hook is the easiest size to learn with. Thin hooks make tiny stitches that are hard to see; very thick hooks feel awkward.
- Smooth, light-colored yarn. A worsted-weight (UK aran) acrylic or cotton in a pale shade lets you see every loop. Avoid fluffy, dark or textured yarn for now.
- Ten quiet minutes. Grip is muscle memory. Short, relaxed practice beats one long frustrating session.
The two classic hook grips
Most crocheters use one of two grips. Try both, and keep the one that feels natural after a few rows.
1. The pencil grip
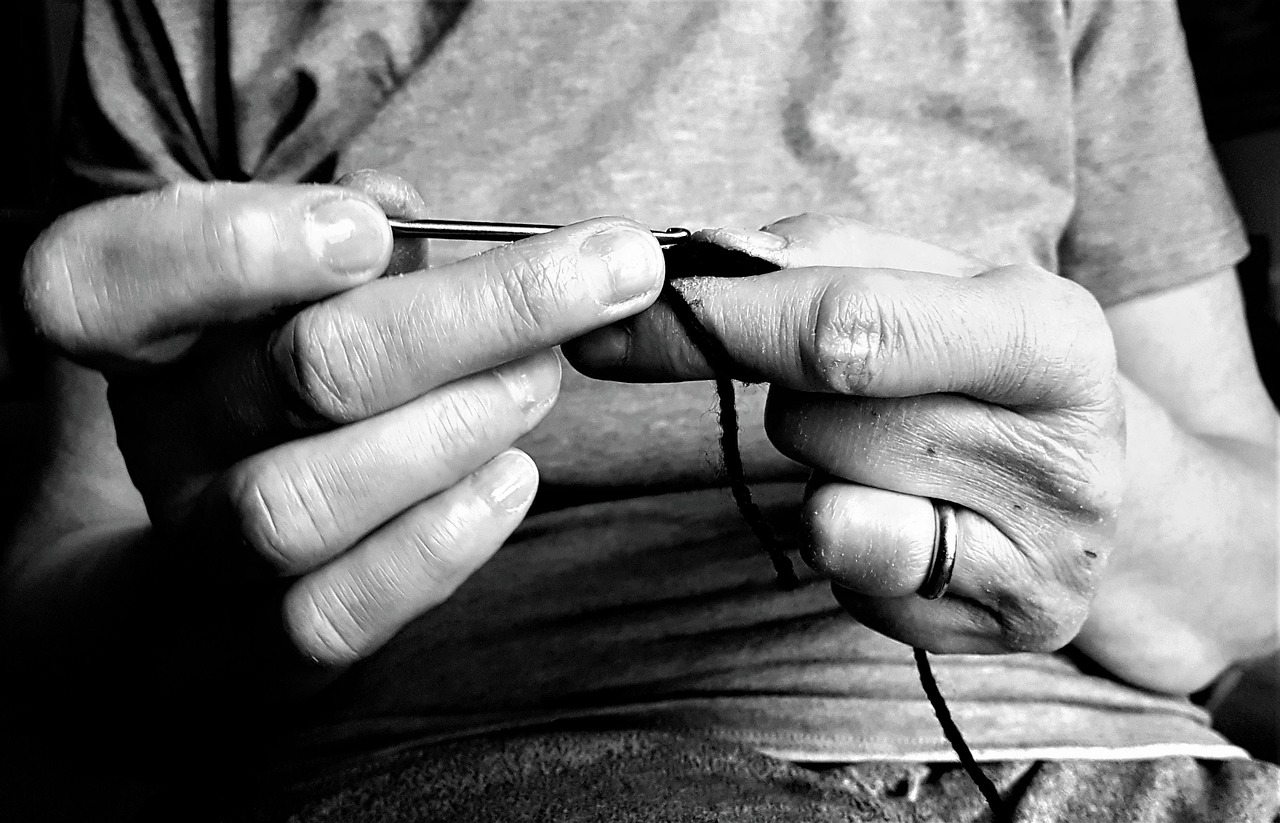
Hold the hook exactly as you would hold a pencil: between your thumb and index finger, resting on your middle finger, with the handle sitting in the crook between your thumb and index finger.
Why people like it: it gives fine control and feels familiar if you write a lot. Many crocheters who make small, detailed pieces such as amigurumi prefer it.
2. The knife grip
Hold the hook from above, the way you would hold a knife to cut food. Your palm sits over the handle, your thumb and middle finger pinch the flat thumb rest, and your index finger lies along the top.
Why people like it: the movement comes from the wrist rather than the fingers, which many people find less tiring during long sessions or big projects like blankets.
Which one should you choose?
Neither grip is better. Choose the one that lets your wrist stay relaxed. If your hand starts to ache, stop, shake it out and check that you are not squeezing the hook. A loose, steady grip is the real goal.
How to hold the yarn (tension)
Your other hand has an equally important job: it controls how fast the yarn flows to the hook. This is called tension. Even tension equals even stitches.
A simple, popular method:
- Let the yarn coming from the ball run over your index finger.
- Weave it under your middle finger and over your ring finger.
- Optionally wrap it once around your little finger for extra control.
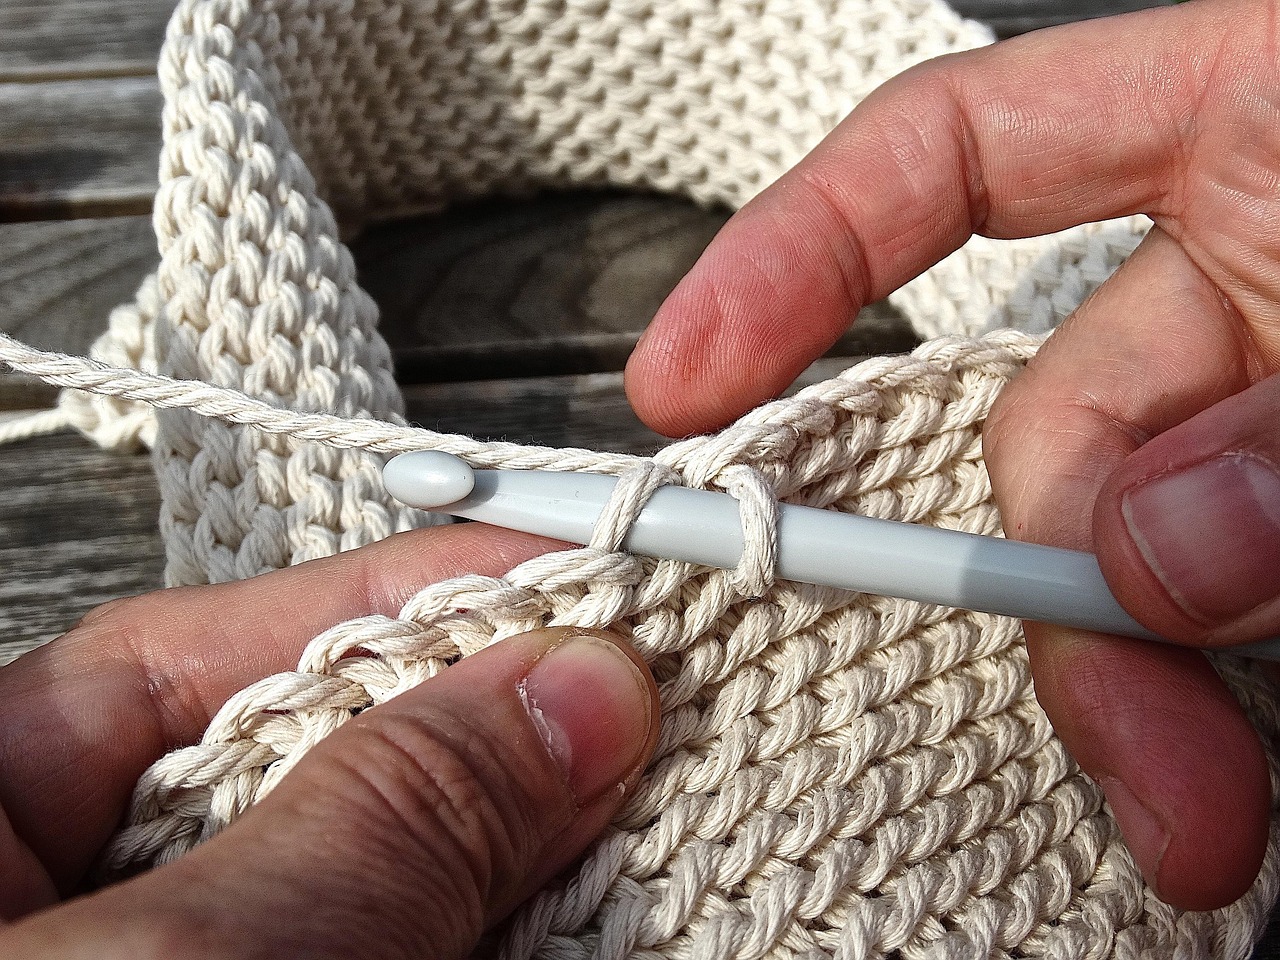
- Pinch the base of your work between your thumb and middle finger, close to the hook.
- Raise your index finger slightly. The yarn between that finger and the hook is what you will "grab" with the hook.
If that feels too complicated, start by simply draping the yarn over your index finger and holding it lightly with the rest of your fingers. You can refine it later.
Practice drill: the chain
The best way to train your grip is to make a long chain:
- Make a slip knot and place it on your hook.
- Wrap the yarn over the hook from back to front (this is a yarn over).
- Pull that yarn through the loop on your hook. That is one chain.
- Repeat until you have 30 to 40 chains.
Look at your chain. Are the little "V" shapes roughly the same size? If yes, your tension is already working. If some are tiny and some are large, keep going: consistency arrives with repetition, not with force.
Common grip problems and how to fix them
My stitches are too tight and I can't get the hook back in. You are probably pulling the yarn too hard or holding your index finger too low. Relax the yarn hand, and make sure each new loop slides onto the thick part of the hook (the shaft), not the narrow throat.
My stitches are loose and messy. The yarn is flowing too freely. Add one more wrap around a finger, or pinch the work closer to the hook.
My hand or wrist hurts. Check for a death grip. Hold the hook as lightly as you can while still controlling it. Ergonomic hooks with soft, thick handles can help a lot. Take breaks every 20 to 30 minutes.
The yarn keeps falling off my finger. Try a different wrap pattern, or slow down. This one disappears on its own after a few practice sessions.
Left-handed crocheters
Everything above works the same way, just mirrored: hold the hook in your left hand and the yarn in your right. Your work will travel in the opposite direction, which is completely normal. Many left-handed crocheters flip written diagrams horizontally or use a mirror to follow video tutorials.
Key takeaways
- Try both the pencil and the knife grip and keep whichever feels relaxed.
- Even tension matters more than which grip you use.
- Practice with long chains in smooth, light yarn and a 5 mm hook.
- If it hurts, loosen up and take breaks.
Once your chain looks even, you are ready for your first real stitch. Next, read our guide to US vs UK crochet terms so you never get confused by a pattern again.